Lite jästsmak, men helt ok.

Pilsner-Ale
Ok, efter lite mer provsmakning och efterföljande kräksjuka, så kanske den inte var så ok.

Lite jästsmak, men helt ok.
Pilsner-Ale
Ok, efter lite mer provsmakning och efterföljande kräksjuka, så kanske den inte var så ok.
Får se hur det här funkar. Ghettofat.
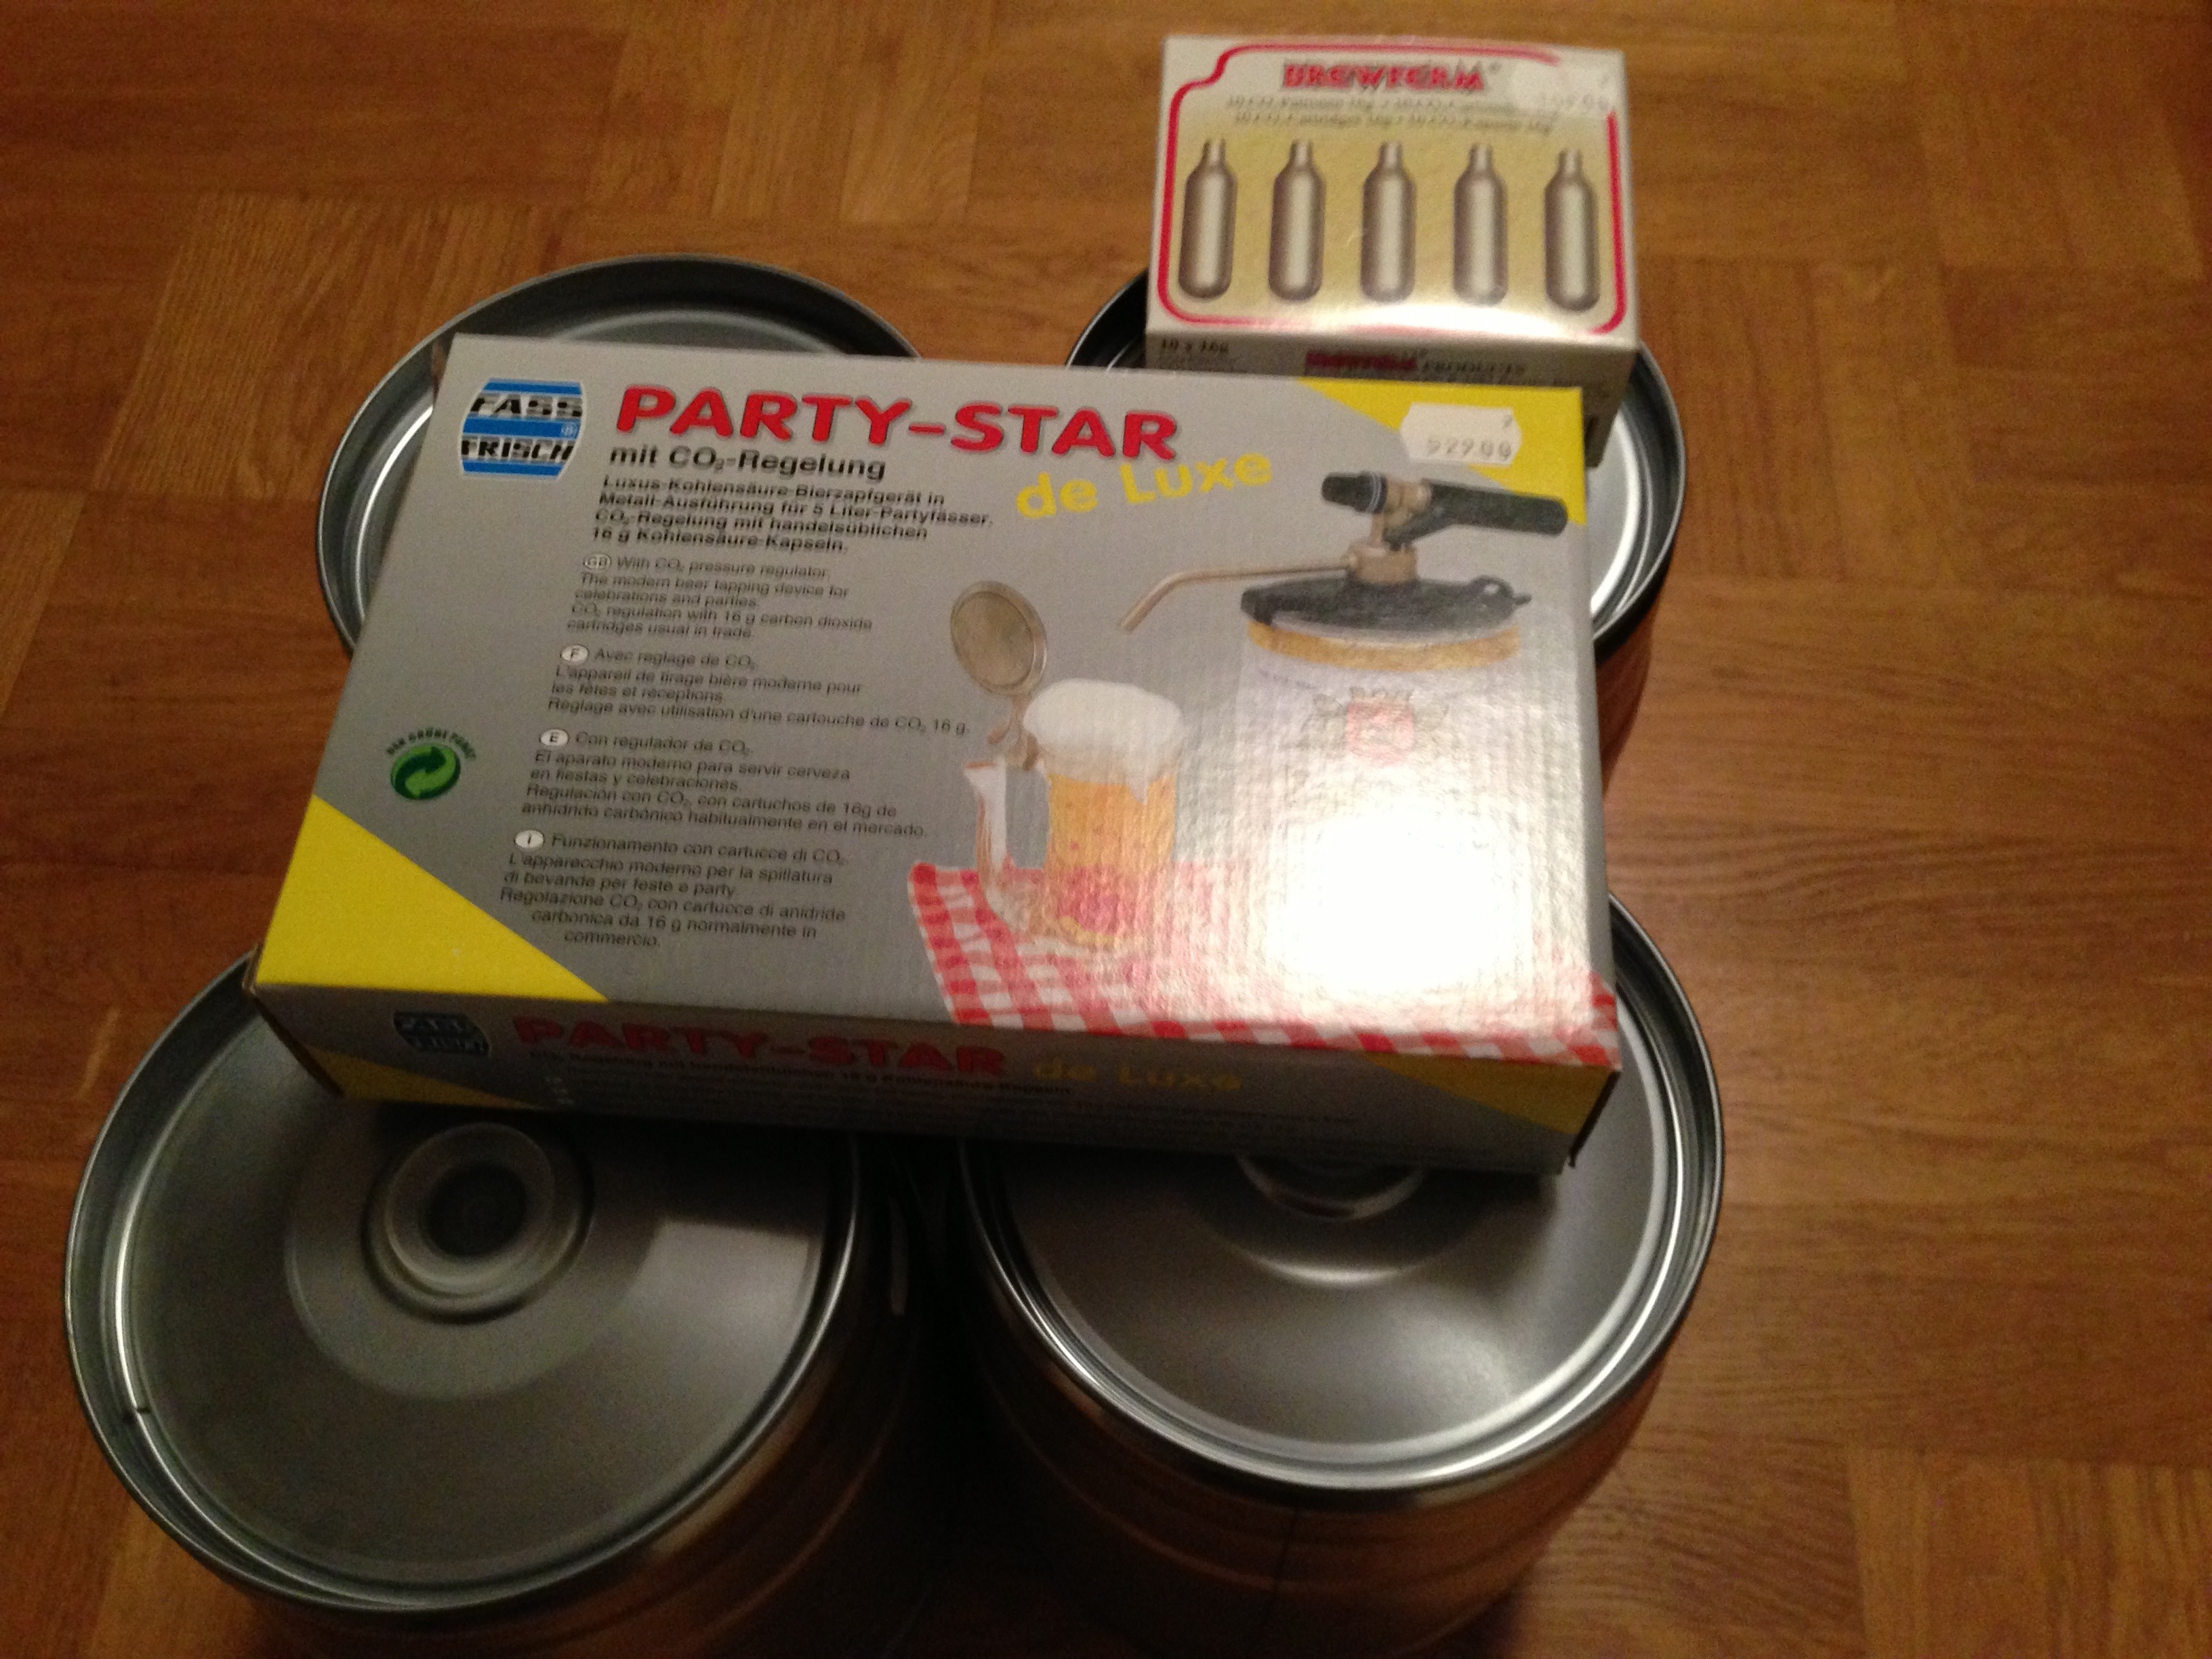
Lite shopping inför helgens aktiviteter.
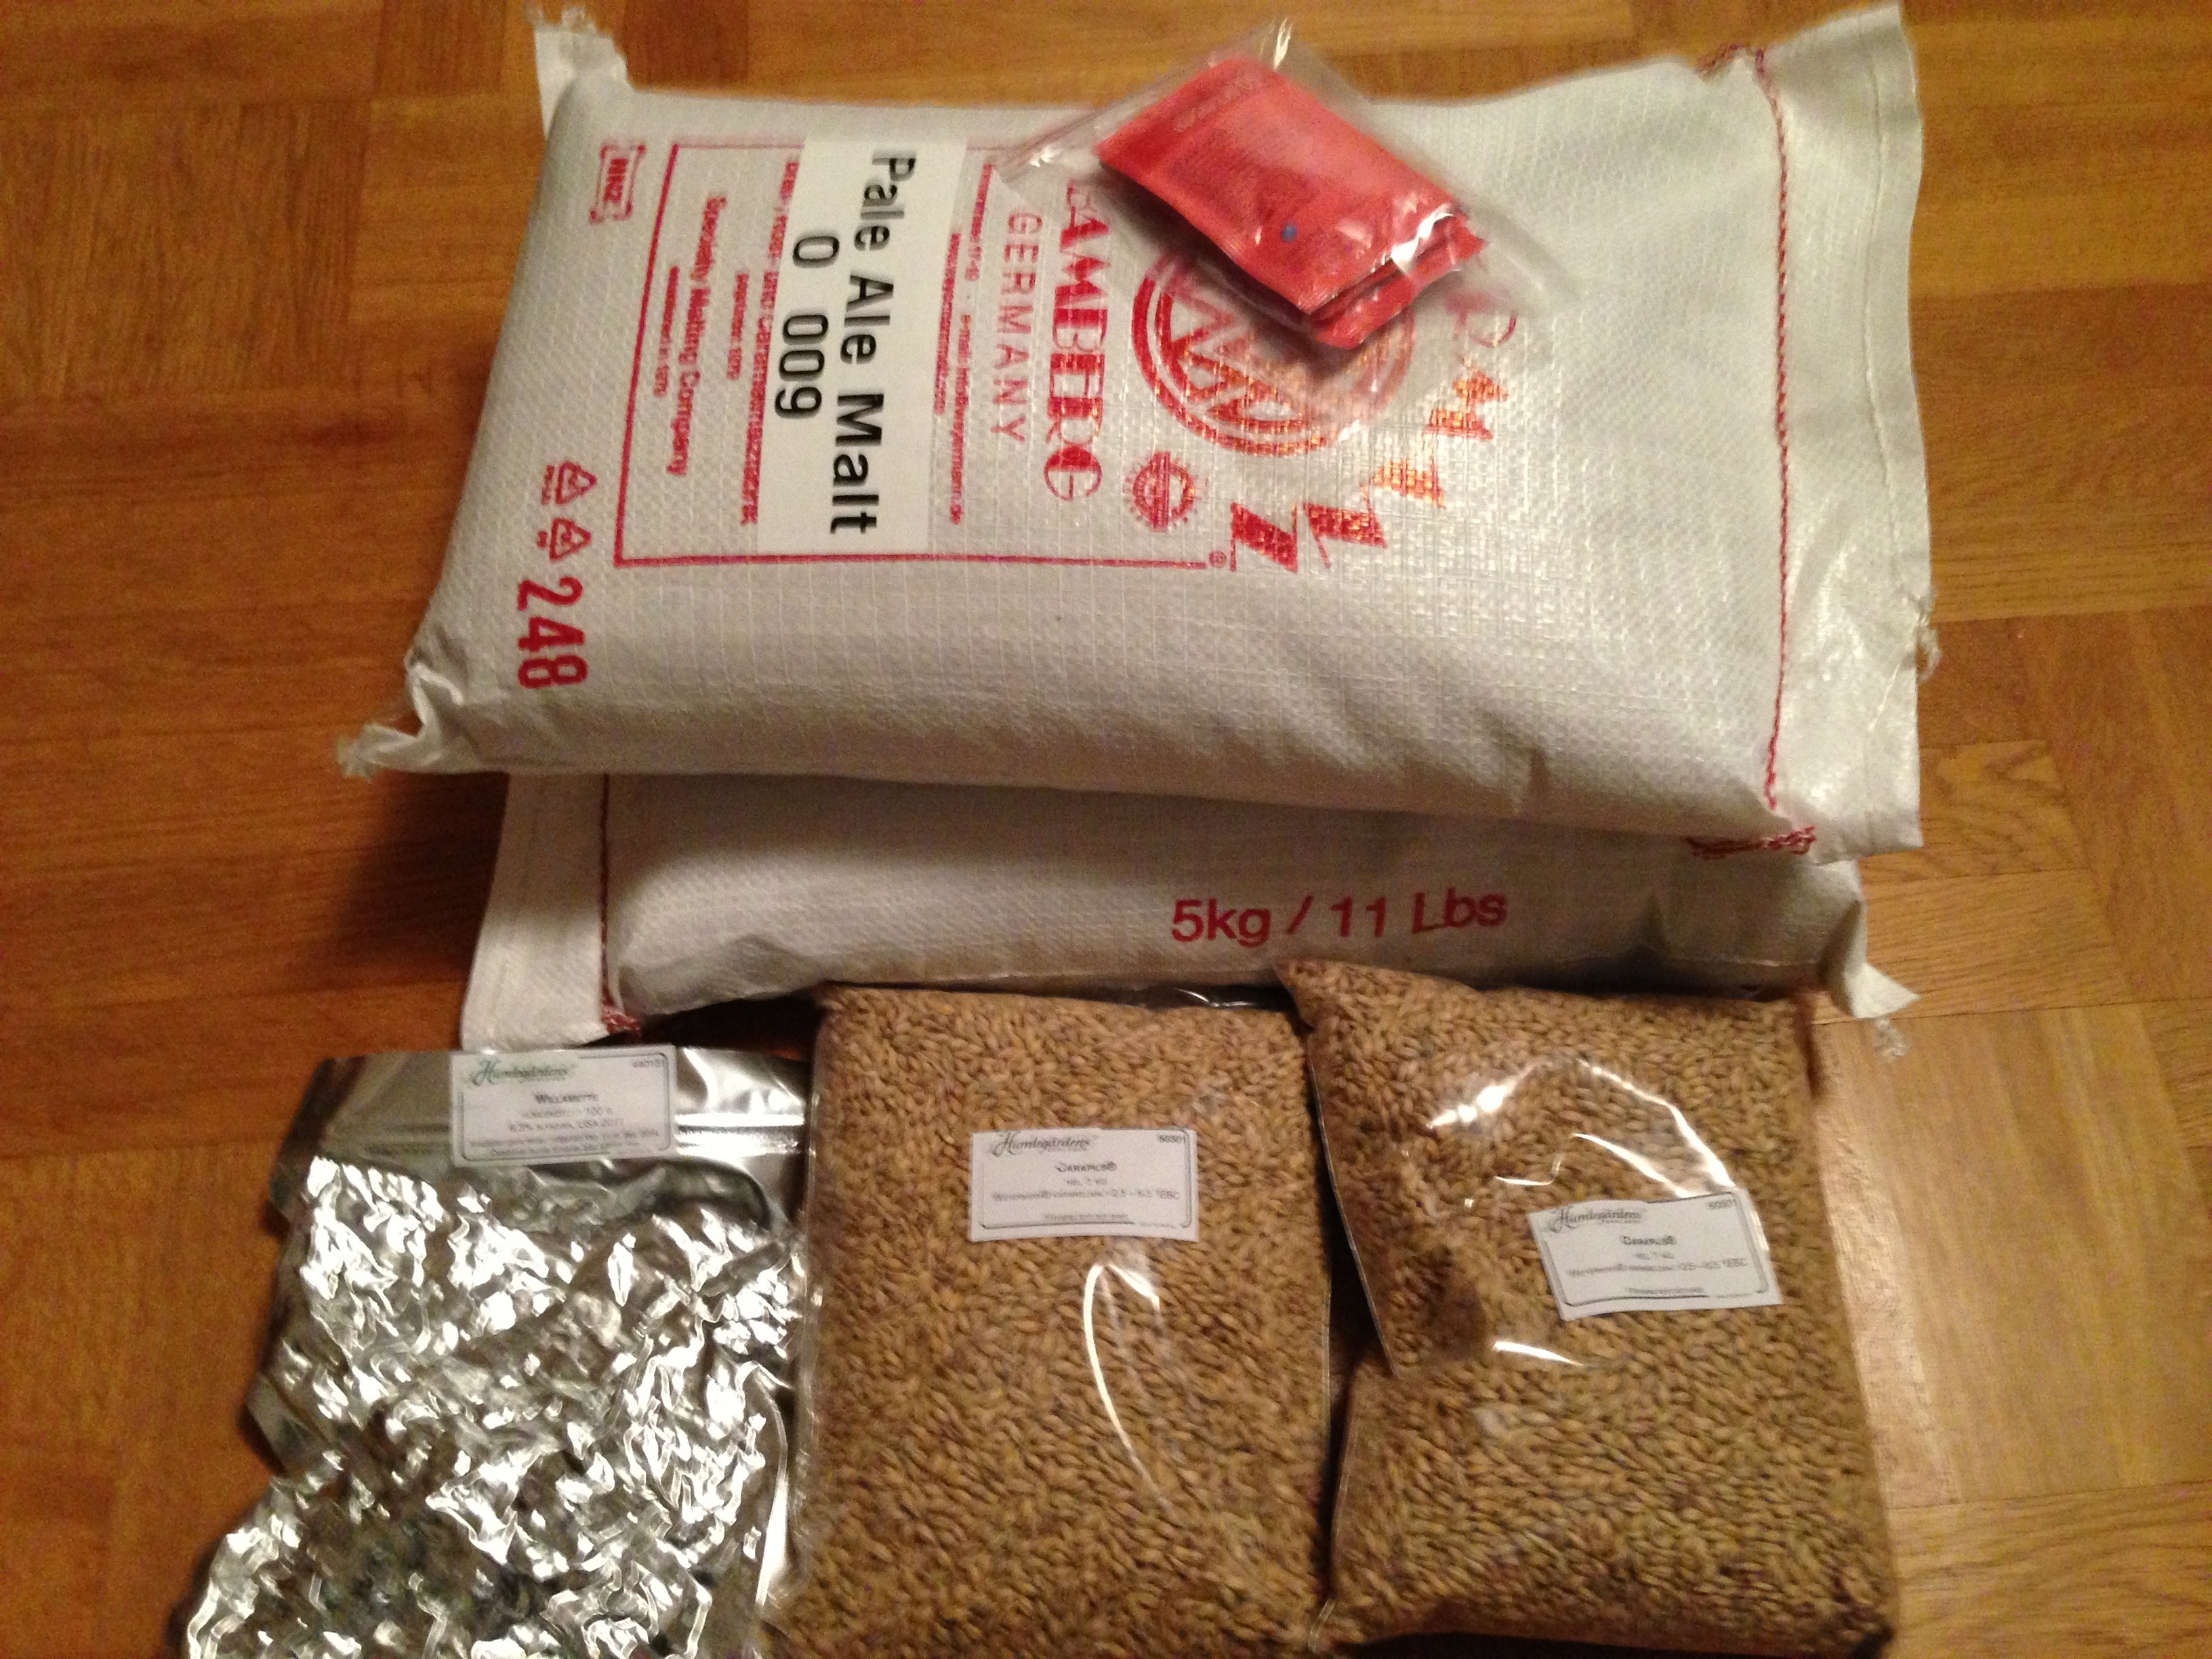
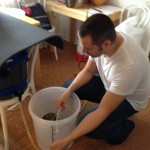
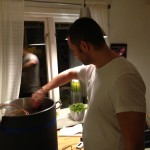
Dagens bryggövningar gick ut på att försöka göra en hederlig tre-femma, en folkölsstark ale. Vad har man i en sån då? Maris otter malt och lite kristallmalt.

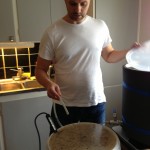
Mäskar i grytan med ful isolering ovanpå

Högre mäskningstemperatur än vanligt
Under tiden mäskningen pågick passade vi på att tappa en ale vi gjorde för några veckor sen på flaska. Fiffigt knep man läst sig till på nätet, fyll flaskorna på luckan till diskmaskinen så slipper du skura efteråt!

Erik tappar ale på flaska
Efter lakning var det dags att väga upp lite humle. Från vänster till höger, 20 gram amarillo (10,9%) som fick koka i 40 minuter, 15 gram cascade (5,5%) som fick koka i 20 minuter och sist men inte minst 30 gram amarillo som fick vara med i 5 minuter.

Vänster till höger: Amarillo, Cascade, Amarillo igen
Färdigt!

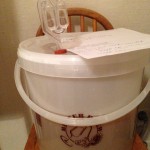
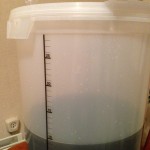
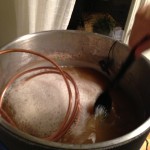
Jäsning
By popular demand here’s a short write-up about our brewing process. Some pictures are not from the same day so they might look a bit inconsistent. Should get the point through though.
First of all we mash in the big cooking pot sitting on top of a hot plate.

Mashing on the hot plate
About 3 liters of water per kilo of grains. We heat the water in the pot to about 75 degrees before we dump the grains in there. Then you need to stir to avoid clumps of grains. After that the temperature should be about 67 degrees. If it’s lower you can heat it with the hot plate if it’s too hot you can put some cold water in to cool it down. Then we let it sit for an hour. We keep a temperature probe in there the whole time and if needed we can heat it up with the hot plate. The temperature should be between 65 and 67 degrees.

Mashing grains in the big pot
While mashing we heat up about 20 liters of water on the stove for sparging. Saves time to do it at the same time.
After the mashing is done we transfer the mash to the sparging bucket. This is a fermentation bucket with a spigot on the bottom and a second bucket inside it. The inner one has a bunch of small holes drilled in the bottom to allow for the wort to go through.
We put the sparging water into the cooking pot and add cold water to it until the temperature is about 78 degrees, again keeping the temperature probe in the pot the whole time.

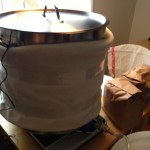
Sparging bucket without insulation
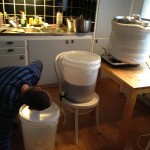
We set up a three step chain for sparging. At the top is the cooking pot, still on the hot plate, containing the sparging water. In the middle is the sparging bucket (or lauter tun if you want to use fancy words) with the mash and on the bottom is a bucket where the wort is collected.

Three step sparging setup
Note that the middle bucket has been insulated since that picture was taken in order to keep the temperature even.

Insulation on the sparging bucket
Now we drain wort at the bottom and add sparging water from the pot, trying to keep an even pace. Ideally there should be a few centimeters of water above the grain bed at all times. You should also try to avoid letting the water dig tunnels through the grains where it can run too fast, try to be gentle when you add water.
The first few liters of wort that are drained are poured back into the bucket to get a clearer wort. You can see Thomas collecting that into a pitcher in this picture.

Thomas collecting the first runnings into a pitcher
During the sparge we will continuously add more water to the pot, some hot that we heat on the stove and some cold in order to keep the temperature around 75 to 78 degrees. We will also periodically take a gravity reading on the wort coming out of the hose to know when we should stop. Remember that it is quite hot so you need to chill it before you can measure it. Lost a hydrometer to that once, it cracked from the heat. We simply put the measuring glass into a bath of cold water. Keep going until it reaches about 1.020.
Now it’s time for the big boil. Get rid of any sparging water left in the pot and pour the wort in there. If there’s a lot of wort it might not be possible to pour directly from the bucket, then you can use a pitcher or something to scoop it over.
For the boil our hot plate isn’t powerful enough to get a good boil with a large amount of wort so we stick a barbecue starter from biltema in there. It’s only 500W but it does the trick nicely. In the picture we’re doing a 37 liter boil with it. We keep the hops in boiling bags, in fact last time we only had one, a big nylon one with a pull string, which we opened and added hops to during the boil. This worked nicely because we jammed the opening end under the lid of the pot so it wasn’t too hot to open.

Boiling the wort
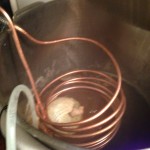
After the boil we cool the wort with a homemade wort chiller, made from 10m copper tubing, again from biltema.

Homemade wort chiller
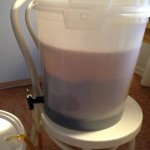
After that it’s just a matter of transfering to a fermenter, taking a gravity reading and adding yeast.
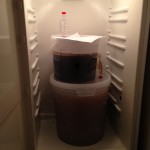
Här är vad som står på jäsning på Mastens bryggeri för närvarande.
8 kilo pilsnermalt, blir en jäkla massa vört!
Köpt ny gryta, byggt lakkärl och vörtkylare, dags för helmaltsbryggning! En vanlig hederlig pale ale blev det.